
I have a bicycle. I’m trying to use it more for my errands when I can, whether that’s picking up food at a local restaurant, getting groceries, or grabbing something at the hardware store. I have panniers on my bicycle already, but sometimes things don’t fit neatly in them, e.g. take-away boxes get turned sideways and spill. So today, I’m going to try to make a simple wooden box to mount on the back of the cargo rack. Let’s get started!
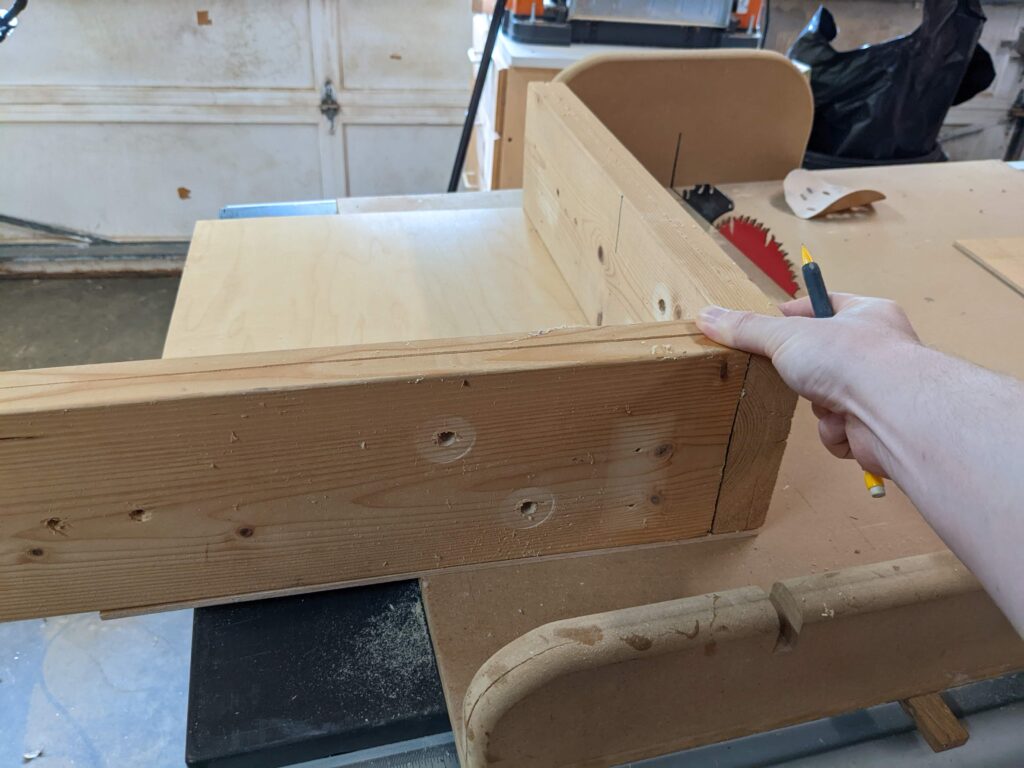
I don’t want to buy any lumber for this project, so I went to the scrap bin and found a piece of plywood about the size that I wanted the box to be, and some resawn 2×6’s from an old bedframe. I cut the long pieces to length. The shorter ends need to be the width of the plywood minus with thickness of the sides, so that’s what I’m marking here. I then cut the short ends to length.
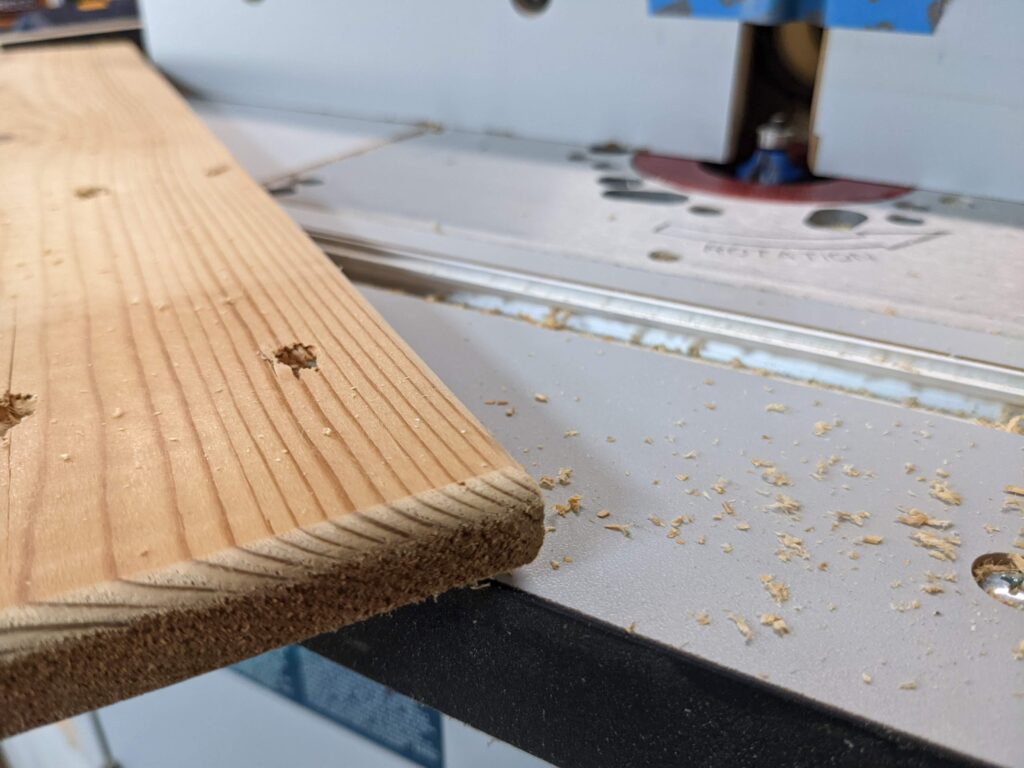
Just to make the box feel a little easier in the hands, I rounded over the corners of the side pieces and sanded everything.
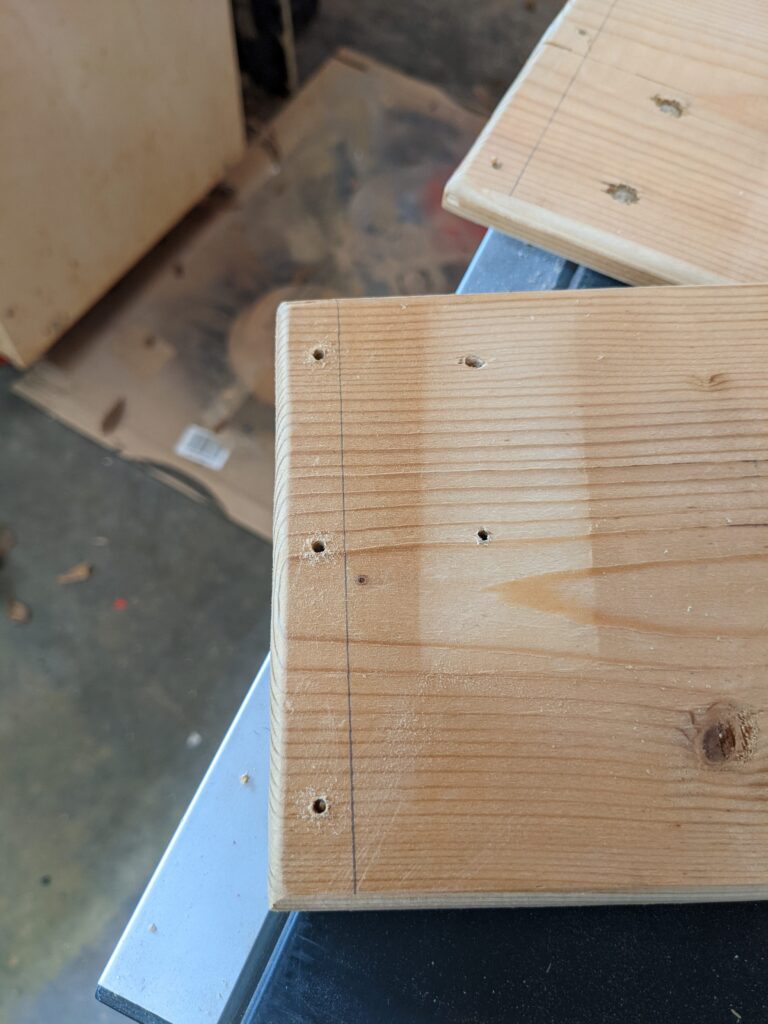
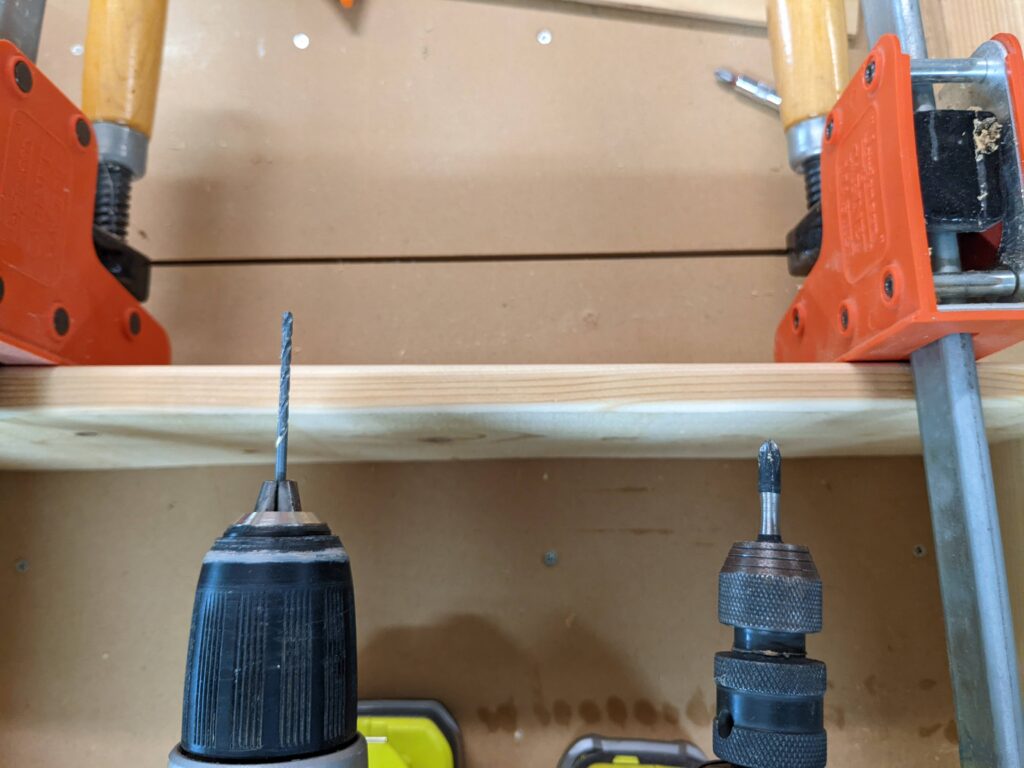
Pre-drilling is critical when trying to screw things into thin end grain like this. Here I’ve marked where the short sides meet the long sides so I can make sure my screws will land, and I pre-drilled the long pieces.
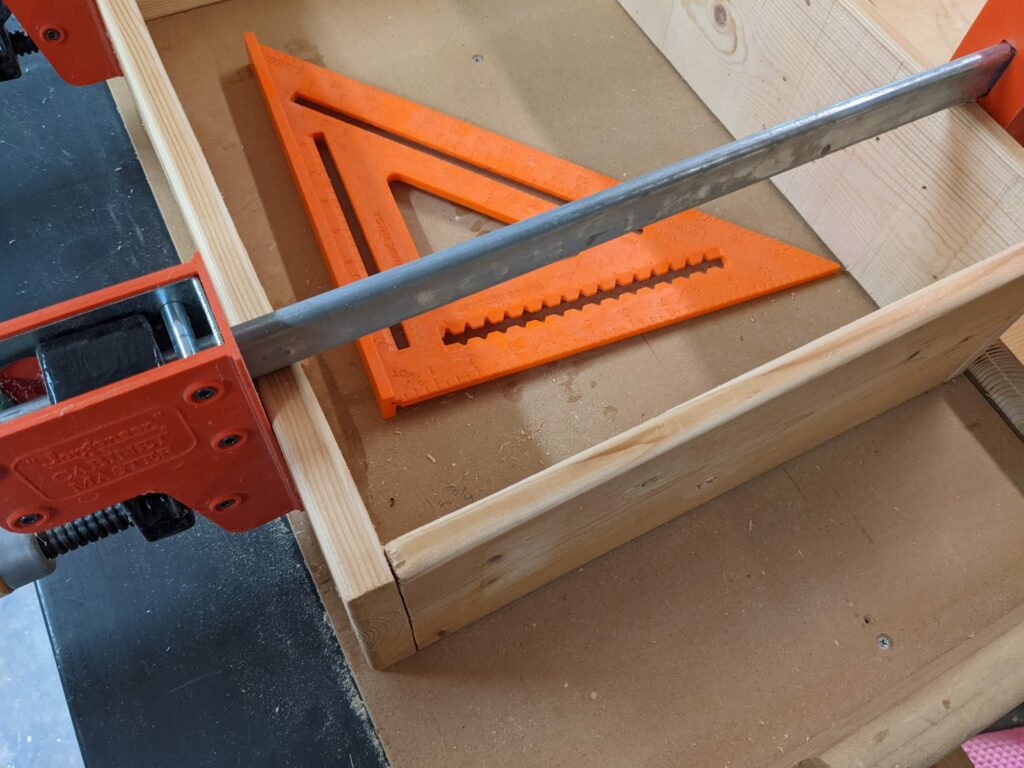
Then I used clamps to hold everything in alignment (and square), and used the holes in the long sides as guides to pre-drill into the end grain of the short sides.

Drove in 3 screws per corner. No splits!
Having a drill and a separate driver can really improve efficiency. I would drill out a hole and then put the screw in it to help keep things in alignment as I went. You can follow that process with just a drill, swapping the drill bit for the driver bit back and forth, but that definitely takes time. If you’ve got two, you may as well use them.
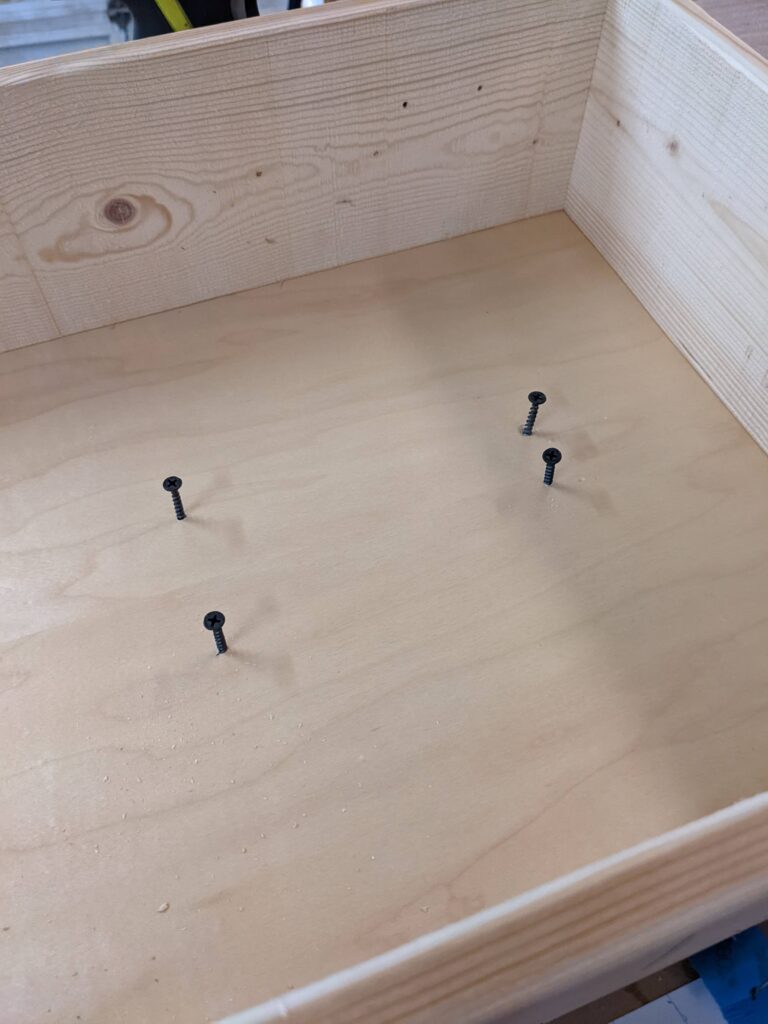
I flipped everything over and went around the perimeter, pre-drilling through the plywood and side pieces and driving screws around.

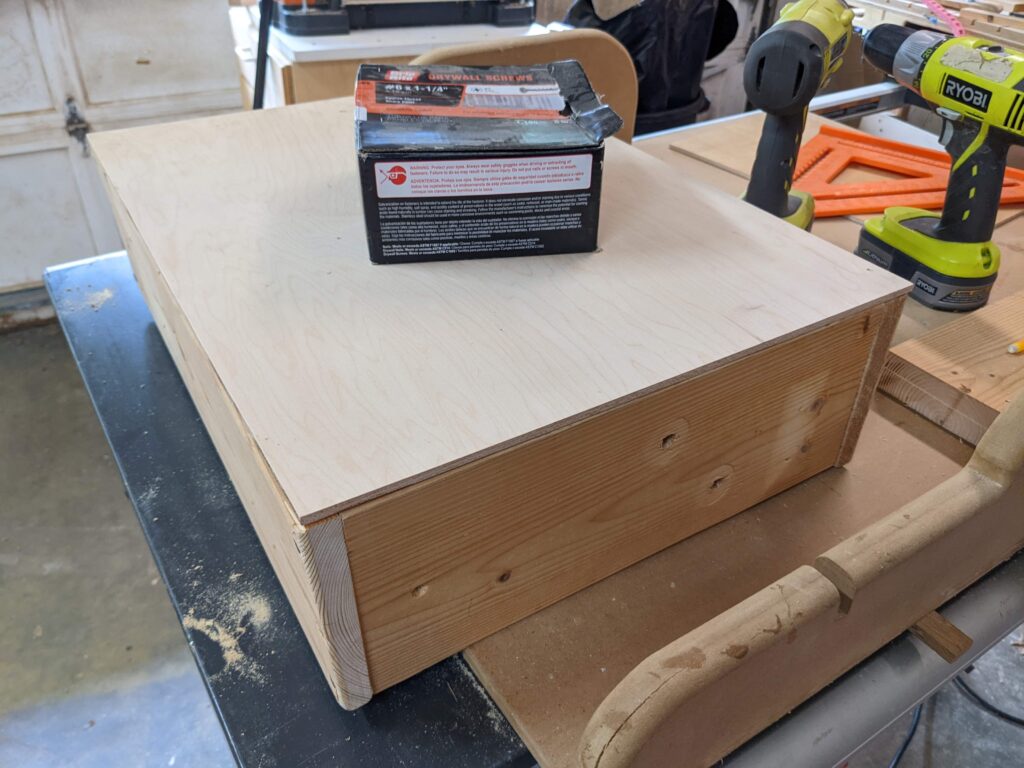
With the plywood attached, it feels quiet sturdy! I would have preferred dovetails or finger joints for a box like this, but a quick and dirty screw will do this time.
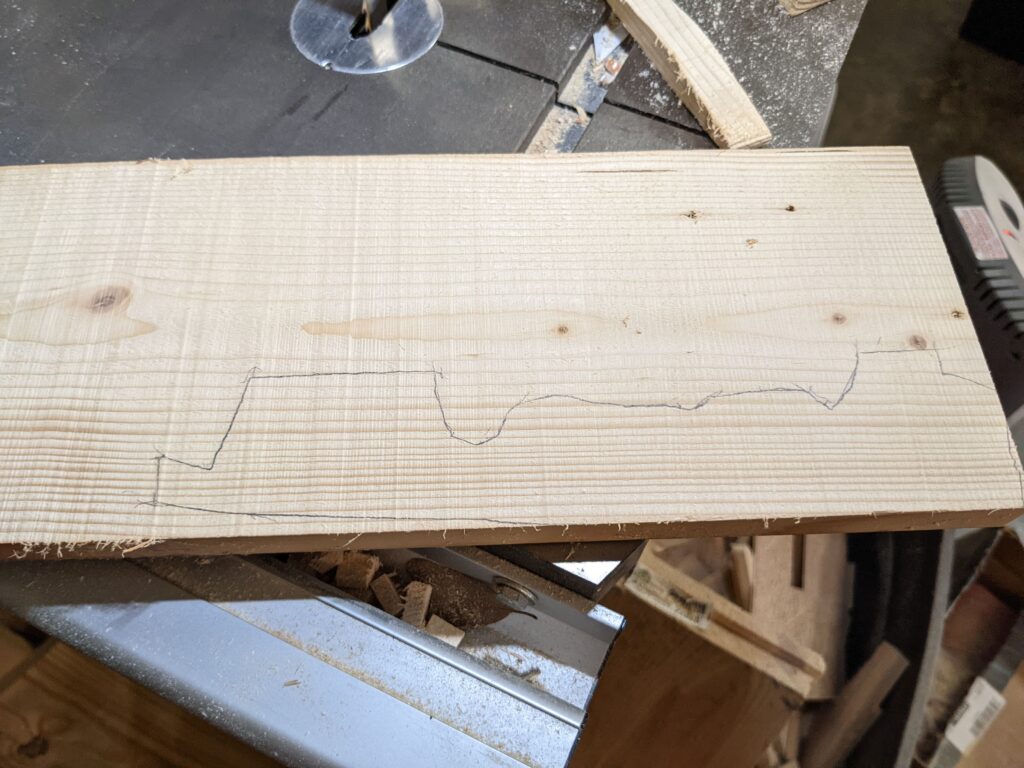
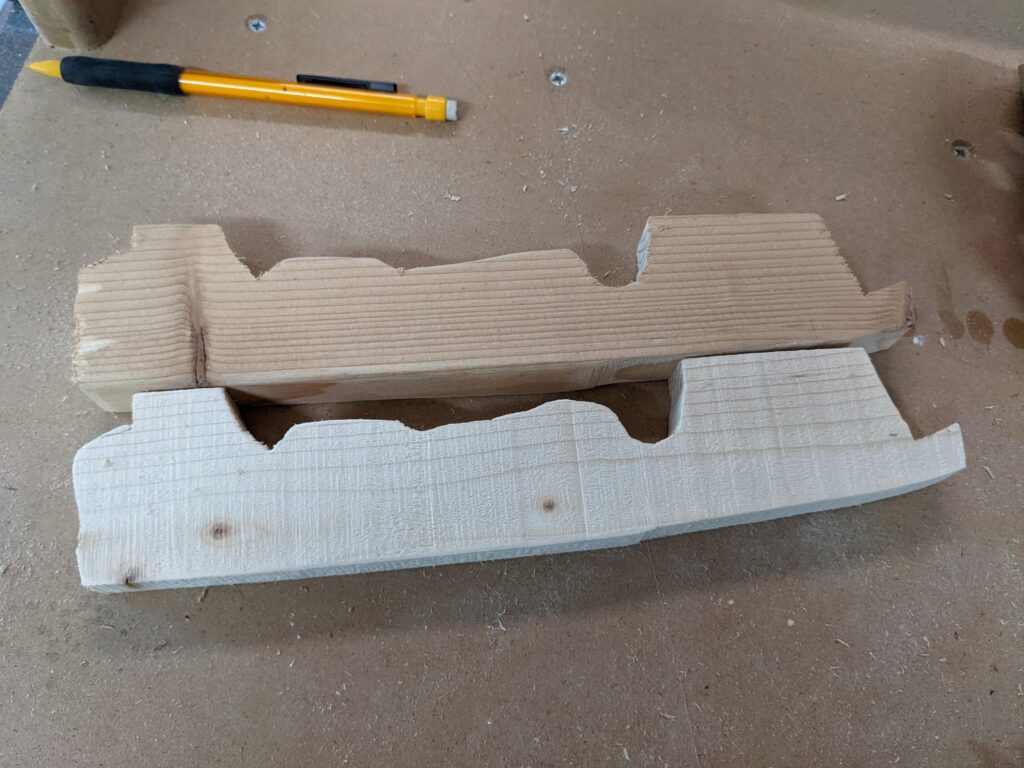
The box needs to be attached to the metal frame of the cargo rack, which is kind of irregular and there’s a fender down there. I came up with this shape with a lot of trial and error on the bandsaw. By far the most time consuming and frustrating part of this build.

Blind screw insertion from the top of the box into the brackets below, sandwiching the top of the cargo rack in between. Not thrilled with this approach. It was difficult to get things aligned, is only attached to the thin plywood bottom of the box, hard to remove and install, and it means I can’t use my panniers when it’s here. Definitely not a permanent solution. But it’ll work for now.

In situ! After this, I applied some reflective tape and moved my brake light to the back of the box so it would be visible again. I’m back on the road.